Introduction:
SAP GUI (Graphical User Interface) is a crucial tool that enables users to interact with various SAP applications. It provides an intuitive and user-friendly interface to access and work with SAP systems. In this step-by-step guide, we will walk you through the process of installing SAP GUI on your computer, ensuring you have a smooth and efficient SAP experience.
Step 1: Prerequisites
Before you start the installation process, ensure that your system meets the minimum requirements for SAP GUI installation. These typically include:
A compatible operating system (e.g., Windows, macOS, Linux)
Sufficient disk space
Network connectivity to the SAP system
Necessary user permissions
Step 2: Download SAP GUI
Download SAP GUI from the Below Link.
Download Link: DOWNLOAD
Step 3: Follow the below Steps to install SAP GUI
1) Open the file and go to this path
SAP-GUI-8.0-WINDOWS\SAP_GUI_for_Windows_8.00_Comp._1_\PRES1\GUI\Windows
2) Select win64 / win32 depending on your system.
3) Click on SapGui64Setup
4) Click on Next
5) Tick the first 3 options and click on Next
6) click on Next
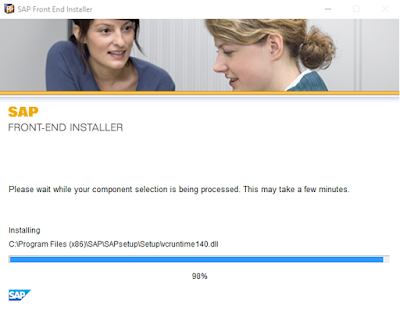
7) The installation will start, wait until it is complete to 100%
8) Click on Close
Congratulations! You have successfully installed SAP GUI and configured your first SAP system connection. You can now seamlessly access various SAP applications and perform your tasks efficiently.
Conclusion:
Installing SAP GUI is a straightforward process that allows you to connect to SAP systems effortlessly. Whether you're a business user, developer, or administrator, having SAP GUI installed on your computer is essential for interacting with SAP applications and managing critical business processes. Follow the steps outlined in this guide to set up SAP GUI and enjoy a smooth and productive SAP experience.


No comments:
Post a Comment